How to Dress an Artificial Christmas Tree (Step-by-Step)
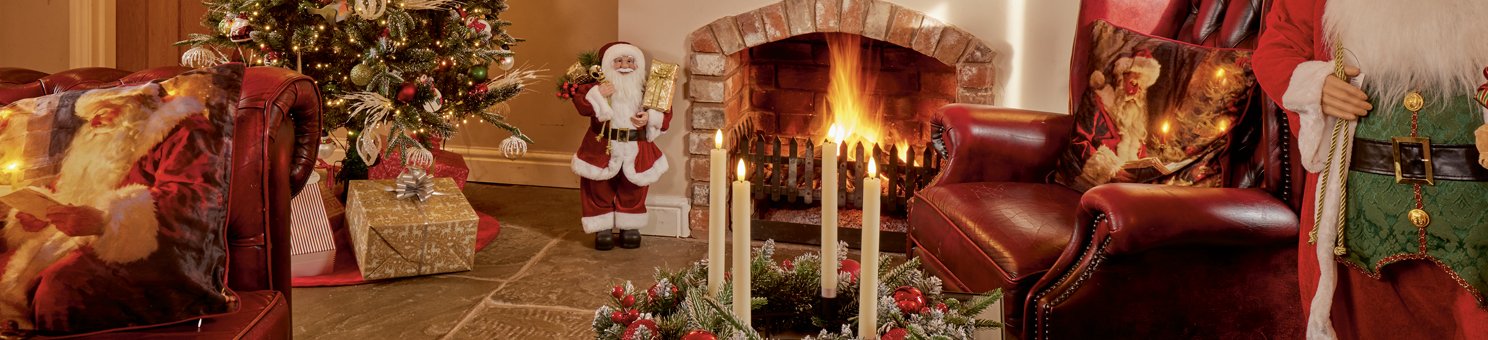
David DomoneyA well-dressed tree sets the scene for Christmas at home. With the right sequence and a few reliable techniques, you can achieve a balanced, professional look. Follow this step-by-step guide to decorate your tree with confidence, showcase your lights, and enjoy a stunning display all season long.
Choose and position your Christmas tree
Select a tree that suits the room’s size and layout.
Match the height and width to your space, leaving room to move around.
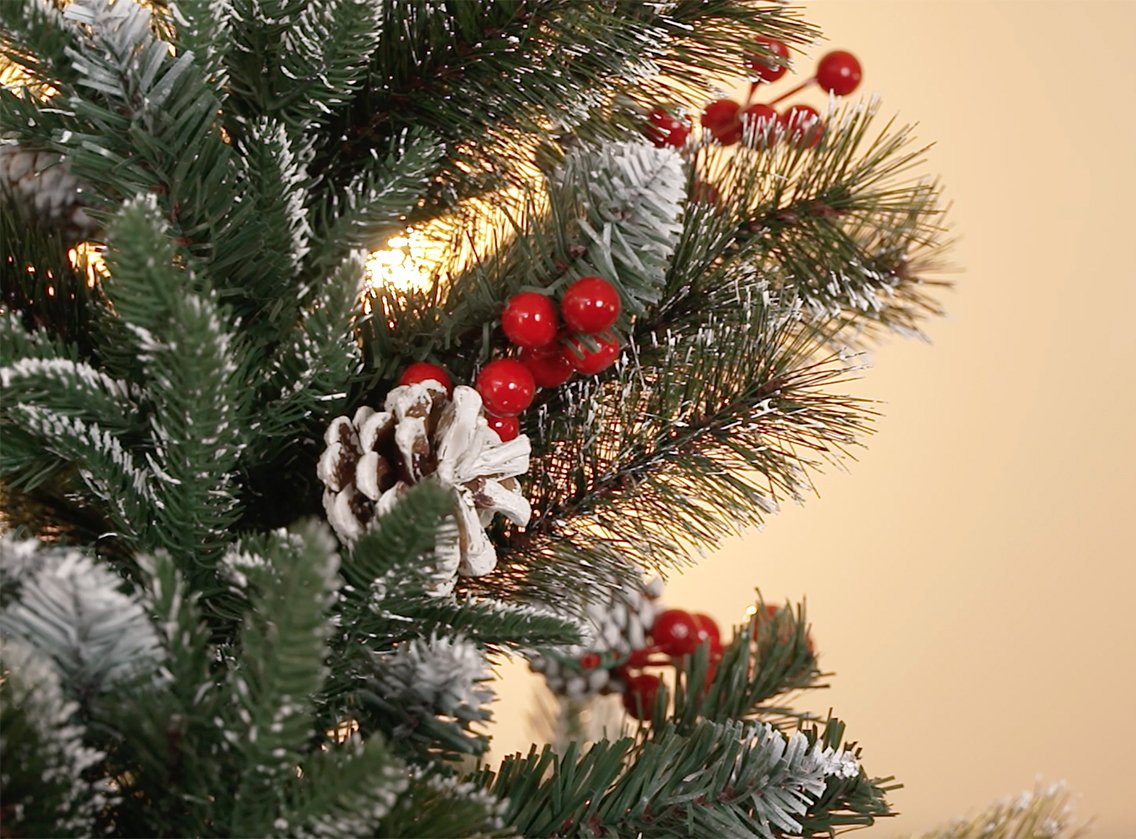
The Slim New Jersey Spruce gives a classic green profile with mixed tips and hinged tree branches. The Snowy Dorchester Pine offers a fuller size, flocked texture with cones for instant depth. The Dual-purpose Corner and Half-Wall Tree sits flush to a wall or into a corner, perfect for smaller spaces.
Opt for pre-lit versions like the Pre-lit New Jersey Spruce or Pre-lit Snowy Dorchester Pine to save time. Position your tree near a socket so cables remain tidy and out of the way.
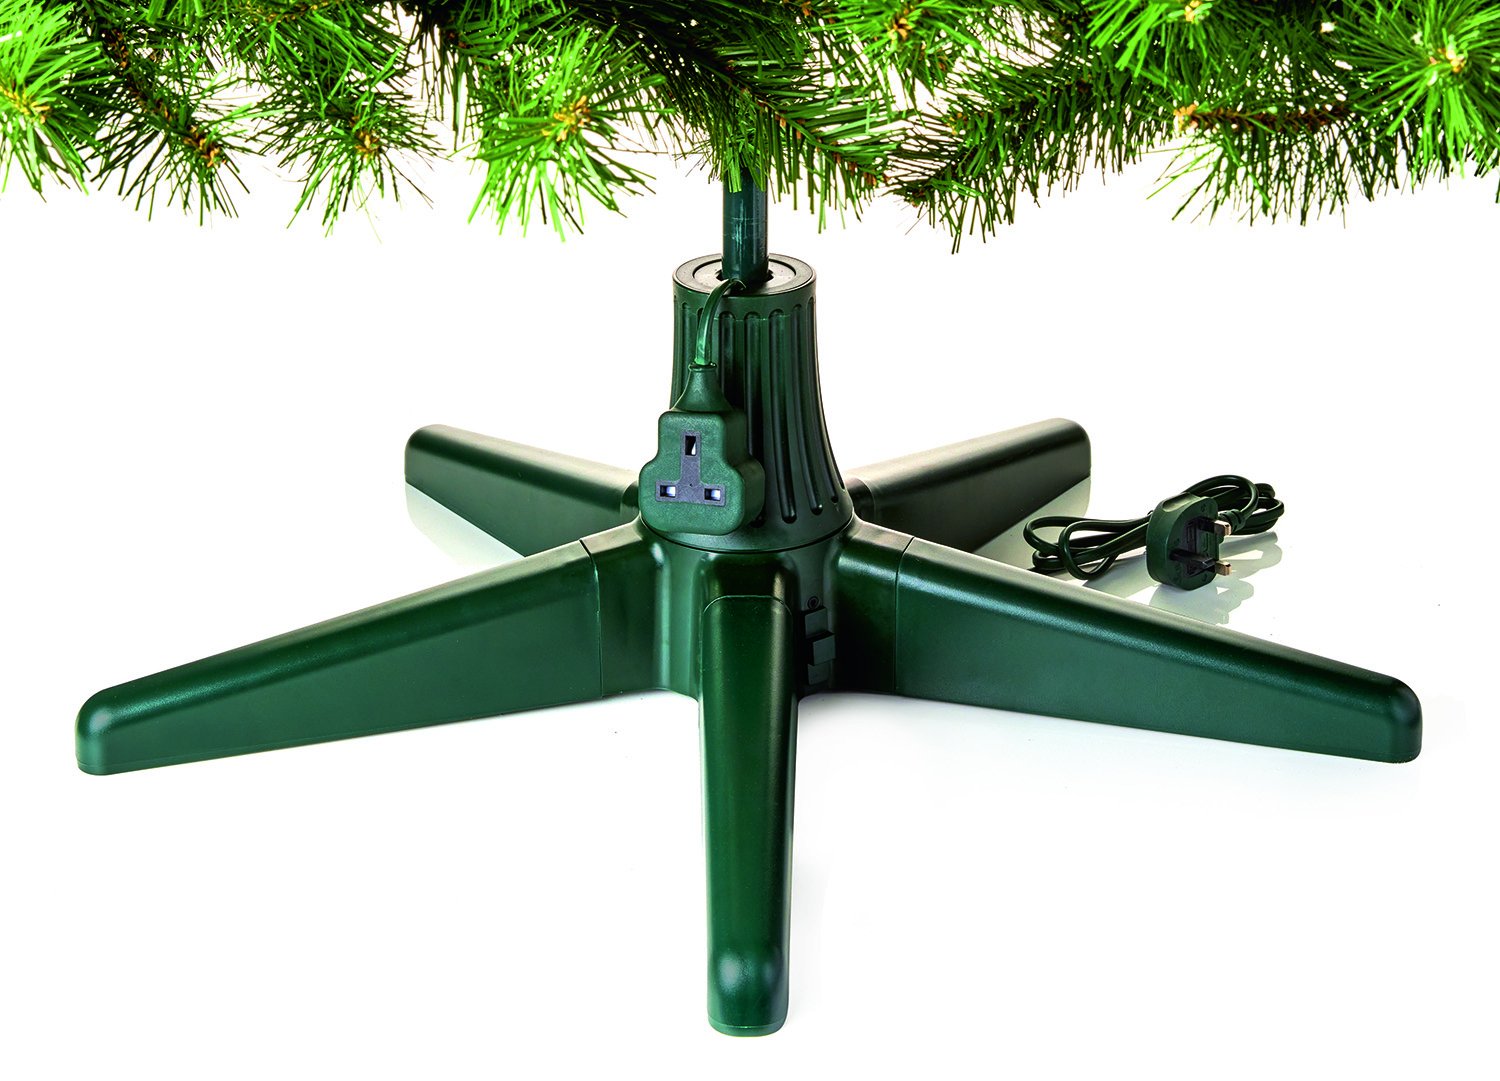
Consider a rotating tree stand if you want every side to be seen. The built-in plug socket helps keep wires tidy, and rotation encourages even decorating. If you use one, plan to light and decorate all sides of your tree.
Fluff the branches for fullness
Fluffing is the foundation of a good finish. It defines the silhouette and hides gaps before adding lights or decorations.
Work from the bottom branches upwards, trunk to tip. Work from the bottom up, separating each branch and spreading side shoots evenly. Lift inner branches slightly to allow light through. Work around the tree as you go and ensure no trunk sections show through.
Create a natural silhouette
Aim for a gentle taper and natural shape with no gaps. Step back regularly and check from different points in the room. Correct gaps now, as they are harder to correct later.
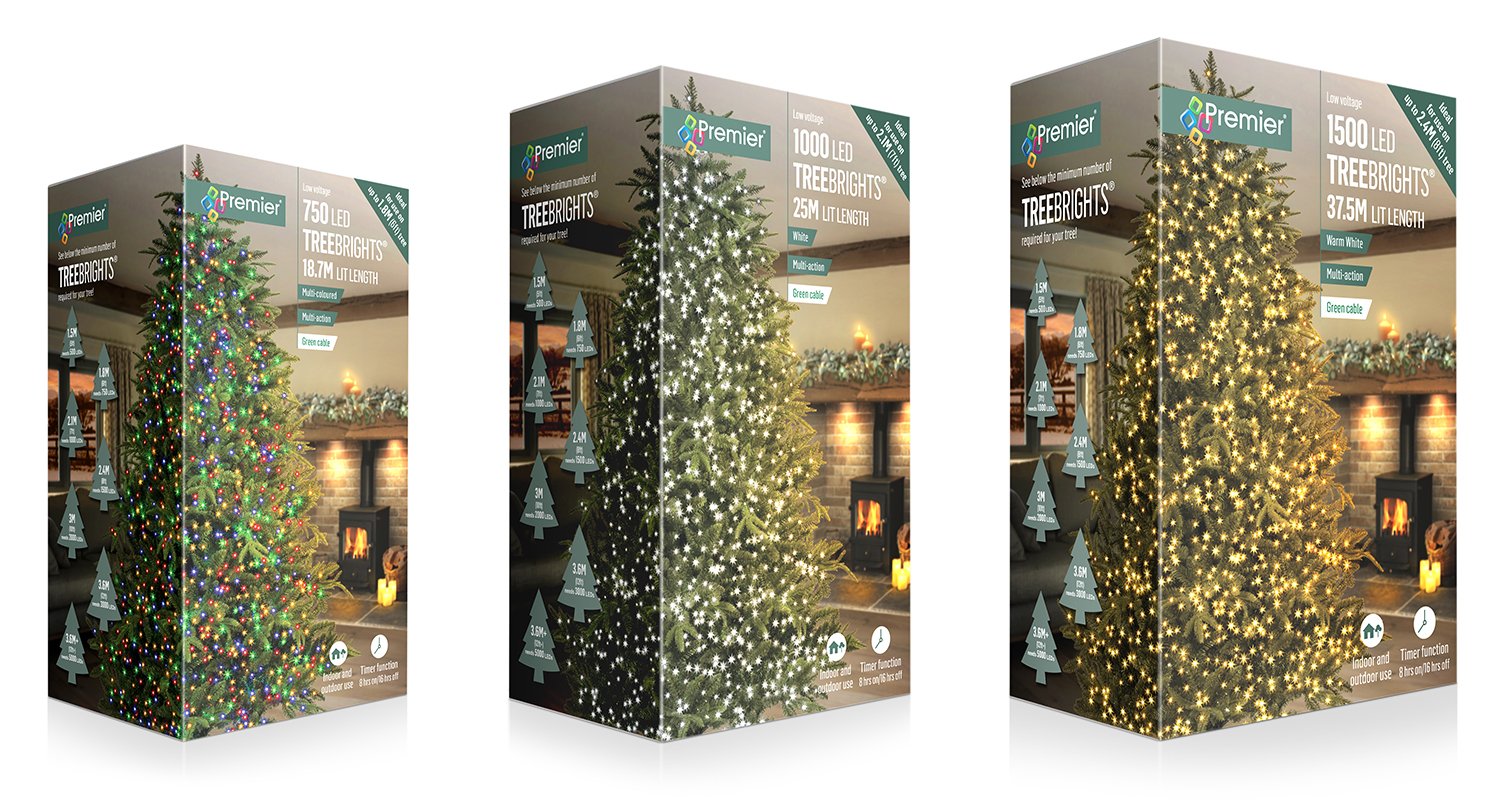
Light the tree with TreeBrights®
Lighting adds depth and sparkle, so take your time at this stage. With TreeBrights®, get even and consistent brightness by running the lights along branches individually. This pushes light inwards, bringing sparkle from the trunk to the tips.
Start at the base, feeding the cable from the trunk. Run LEDs out to the branch tips, then back in again before moving upward, then repeat.
Use a simple rule of thumb, by allowing 100-150 LEDs per foot of tree height. Add extra on heavily flocked trees, as snow-softened tips reflect less light. If you use a rotating tree stand, light all sides evenly.
Lighting guide
Choose an LED colour that complements your room and decoration scheme.
Warm white flatters wood tones and suits the more traditional look, whilst the brighter white
fits silvery, more contemporary palettes. Keep to one colour for a cohesive result across
your holiday décor.
Test the functions on the controller and choose a gentle setting.
Subtle twinkle preserves depth and avoids distraction in family spaces.
Installation notes for rotating stands
- Plug in and confirm rotation direction first.
- Plug in the TreeBrights® transformer at the base.
- Light the tree evenly on all sides so the display looks balanced as it turns.
Choose a Colour Palette
Keep your colour palette limited to two main tones and one accent.
Repeat the colours across all your Christmas decorations.
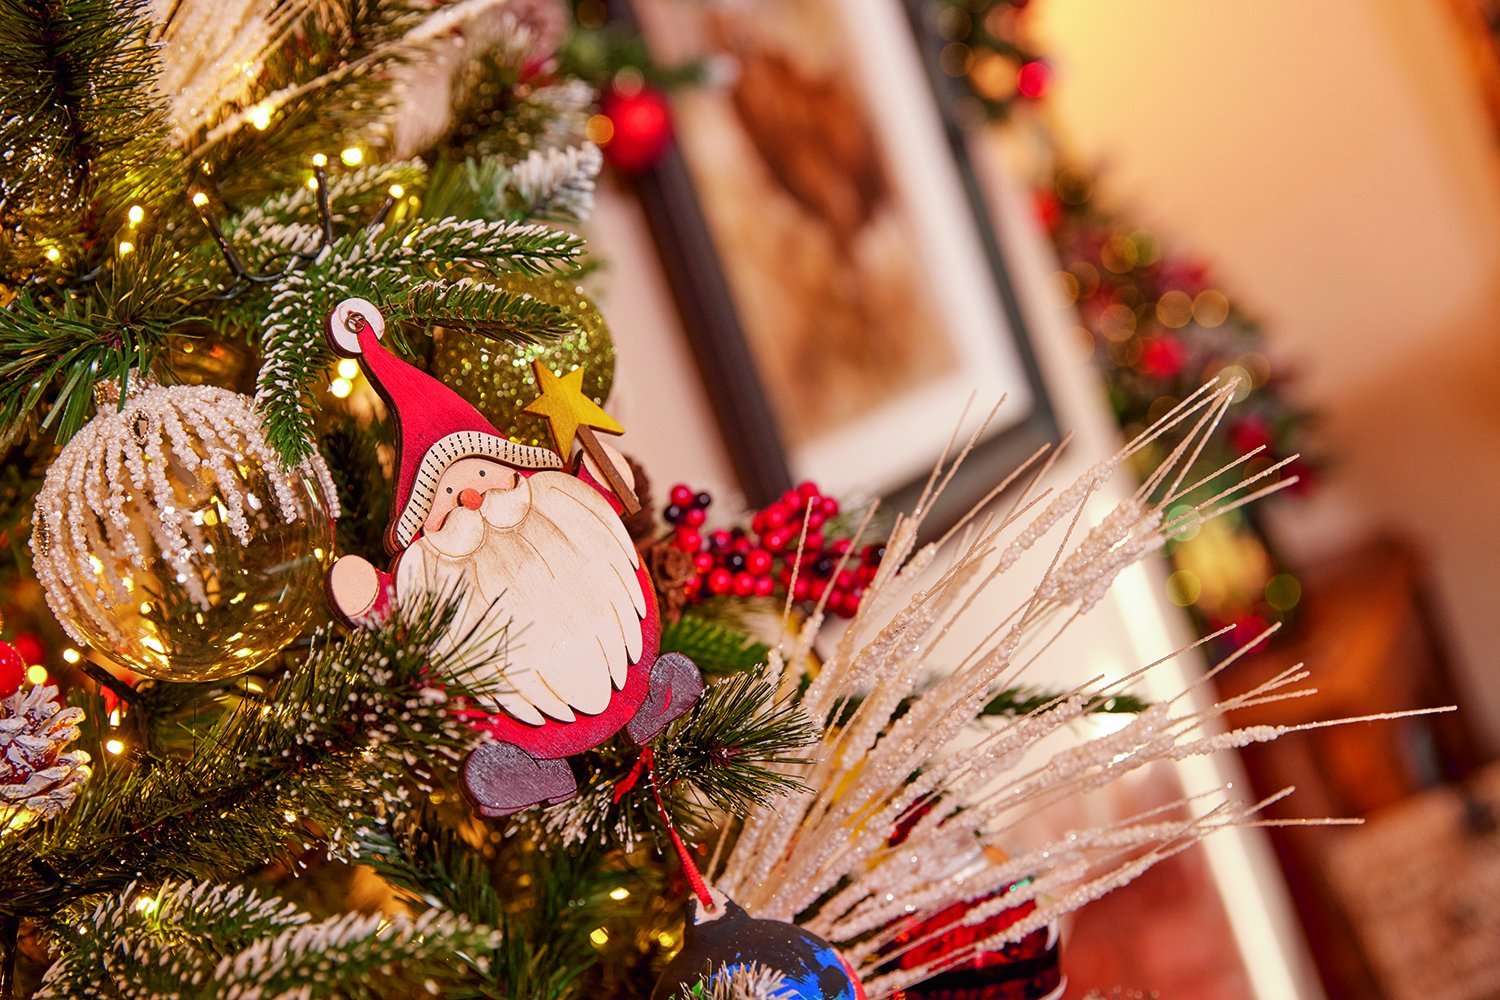
Layer decorations: baubles and feature ornaments
Baubles build colour and scale. Begin with your plainer filler baubles, often shatterproof, placed deeper in the tree branches, adding body without crowding the tips.
Finally, place statement decorations, often glass, around the outside. Mix glass, shiny, matte, and metallic finishes for interest. Smaller personal ornaments can fill tight spaces without overpowering nearby pieces.
Decoration placement guide
Evenly space decorations from your viewpoint, taking into consideration all sides if your tree is to rotate.
Hang delicate glass higher and shatterproof ornaments lower, keeping family areas safe.
Add a few handmade ornaments for memory and character.
Picks and sprays for texture
Picks and floral sprays close small gaps and create interest. Insert frosted tips, berries or delicate branches to follow the natural flow. Angle the stems slightly upwards near the top and more horizontally towards the base for a convincing shape.
Add ribbon
Ribbon introduces texture and elegance. Choose a single ribbon design so that the tree feels cohesive. You can create vertical cascades, run gentle spirals or make bows. Avoid mixing too many patterns or widths for a consistent effect.
Top, skirt, and neat finishes
Fit the topper to a firm central tip. A traditional star, angel, or bow all work if they suit the theme. If your tree rotates, check the topper from several angles before securing it fully to be sure it is straight.
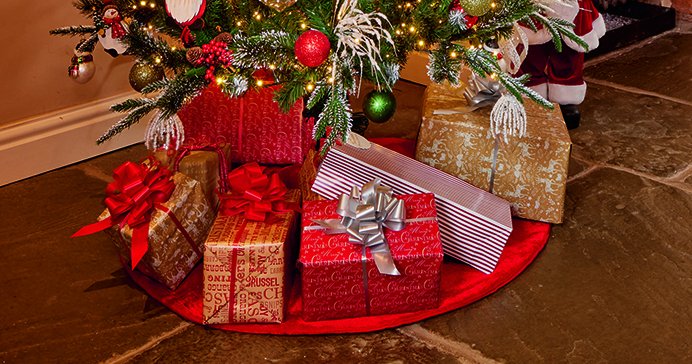
Choose a Christmas tree skirt to complete the effect.
Skirts soften hard floors and hide stands.
Switch your lights on at the time you wish them to turn on automatically each evening. TreeBrights® are fitted with a timer on the transformer, allowing this.
Tuck leads behind the tree and put labels on any controllers so you can adjust functions quickly. Add gifts or baskets at the base of your tree to complete your Christmas story for the festive season.
Styling suggestions
You can use these ideas as a starting point, then adapt them to your own colour palette and decorations.
For a classic green look with warm sparkle, try the New Jersey Spruce paired with TreeBrights® in warm white. Spiral soft gold ribbon evenly through the branches, then mix red and gold baubles for a timeless effect. A star topper draws the eye upward, while a neutral tree skirt gives a tidy finish.
A snow-kissed woodland theme suits the Snowy Dorchester Pine beautifully. Its flocked branches look magical with warm white TreeBrights®. This tree lends itself to minimal décor, sophisticated baubles, and complementary floristry to enjoy the beauty of such a deluxe tree.
If space is limited, go for space-saving elegance with the Dual-purpose Corner or Half-Wall Tree. Dress it with white TreeBrights®, slim satin ribbon, and a refined mix of baubles.
A compact star topper keeps the proportions balanced, while a low-profile skirt maintains
a tidy footprint.

Final checks before you relax
Stand back at the main doorway and take in the whole tree. Check for dark pockets, ribbon kinks, or baubles touching. Nudge a few branches if needed to open or fill these areas.
A well-dressed tree is always about the basics done well. Fluff thoroughly, light along each branch to give depth, place ribbon with purpose, and layer decorations using simple, even spacing rules. With these steps, your artificial Christmas tree will feel considered, balanced, and ready to welcome the festive season.
“Christmas with Premier® couldn't be easier”

Premier Decorations
Premier Decorations Limited was incorporated in 1987 and has successfully grown to become the leading and most respected business to business importer and distributor of seasonal decorative products (encompassing Christmas, Summer and Halloween related items) within the UK and Ireland.
